
Web Push - Additional Settings
Once your NVECTA web push is set up and delivering notifications, a few additional settings let you refine how subscribers opt in, revisit notifications they missed, and experience your branding. This guide covers three optional areas: subscription groups, the notification center, and assets such as a welcome push and custom icons.
These settings build on a working web push integration. If you haven't installed and tested web push yet, start with the Set up web push guide, then return here to fine-tune the experience.
Create subscription groups
Subscription groups let visitors opt into the specific topics they care about, so they only receive relevant notifications. Groups are managed under the Groups tab.
-
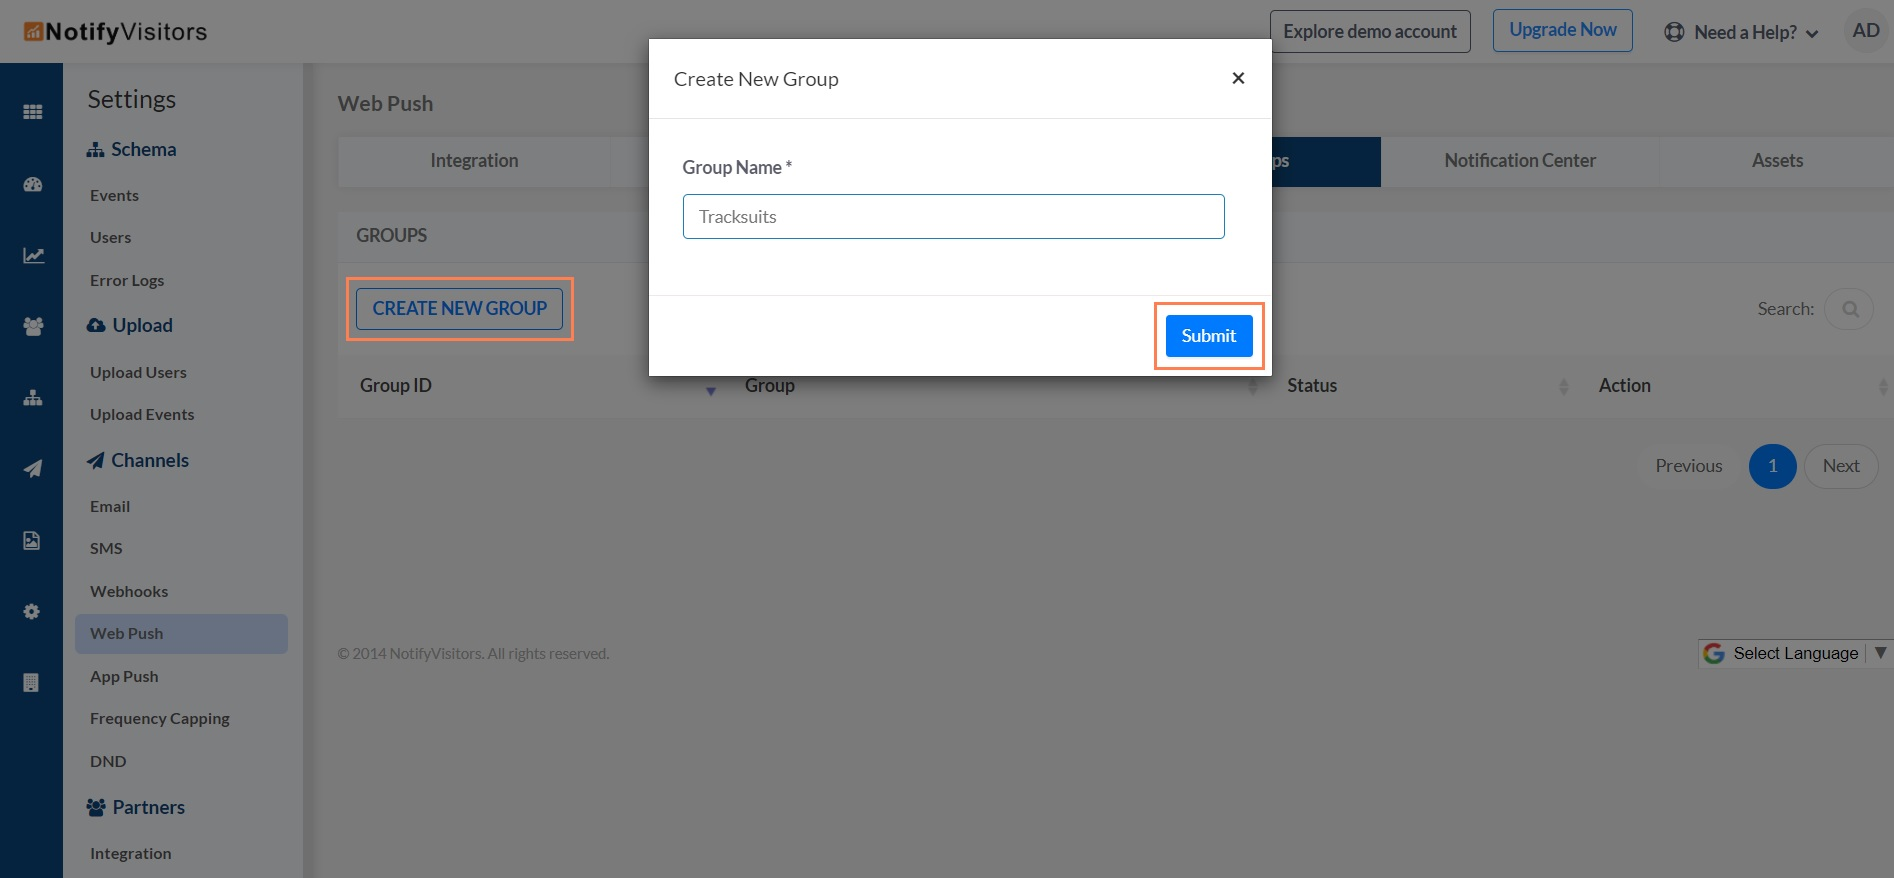
Click Create New Group, enter a name, and click Submit. Use a name that clearly tells the visitor what they're subscribing to.
-
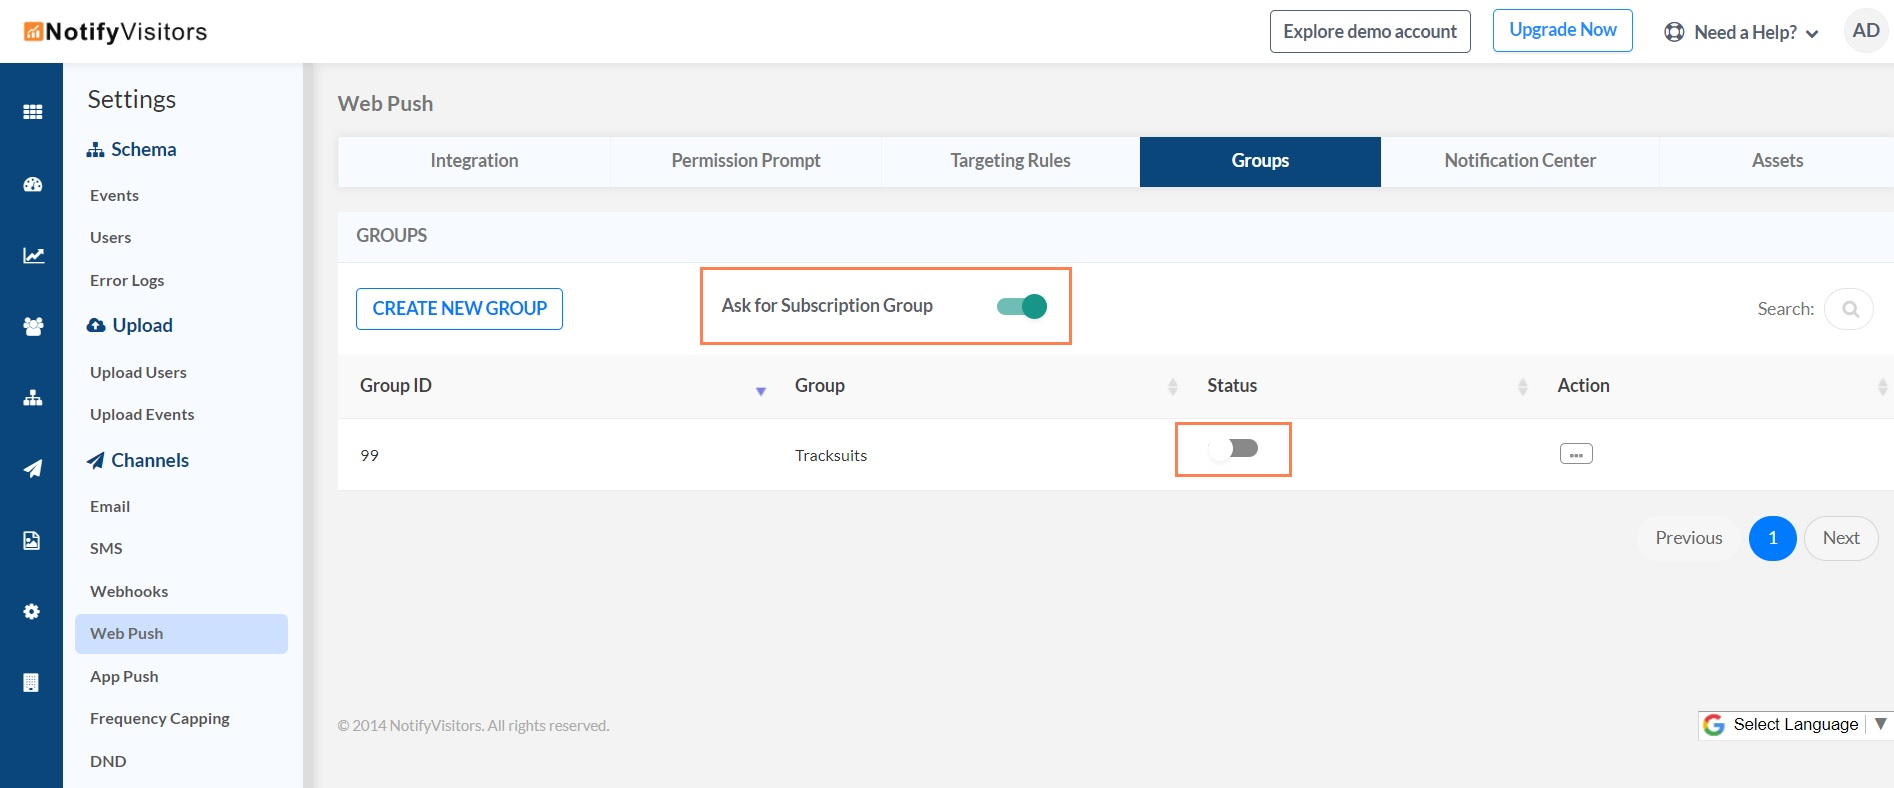
Each group has a toggle to enable or disable it.
-
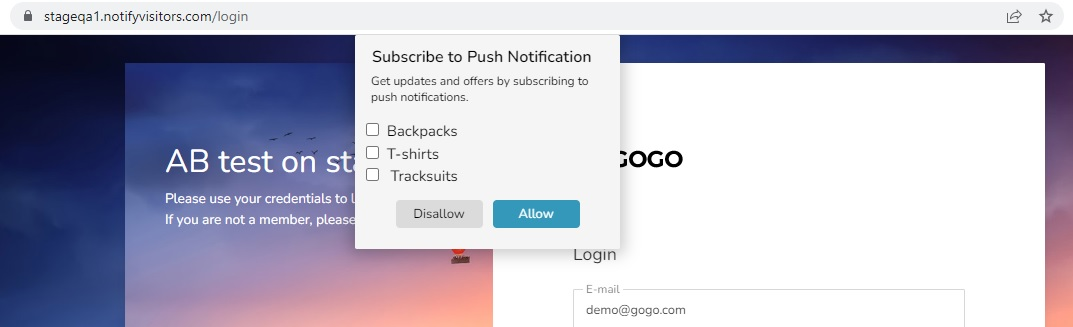
Enabled groups appear as a checklist inside the prompt — but only if the main Ask For Subscription Group toggle is on.
Configure the notification center
The notification center is like a repository on your site where sent notifications collect, so subscribers can revisit any they missed. It's configured under the Notification Center tab.
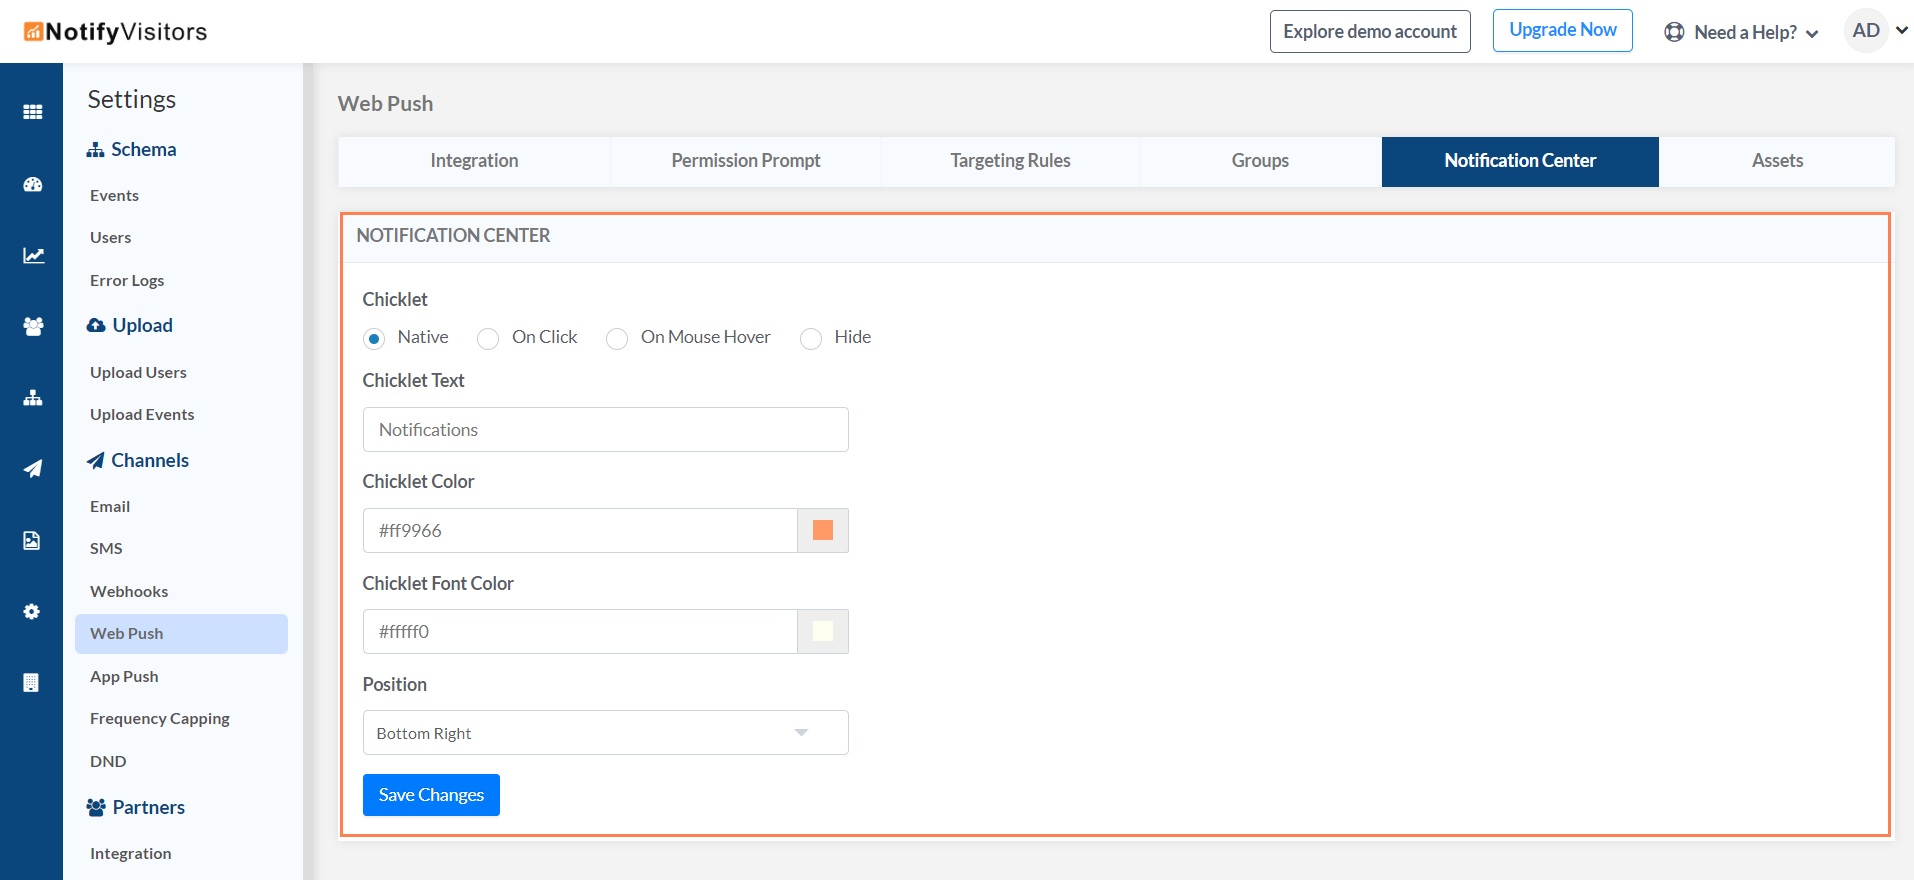
- Choose a display mode: Native, On Click, or On Mouse Hover — or hide it entirely.
- Customise the label, background colour, and font colour.
- Position it at the bottom left or bottom right.
Include assets
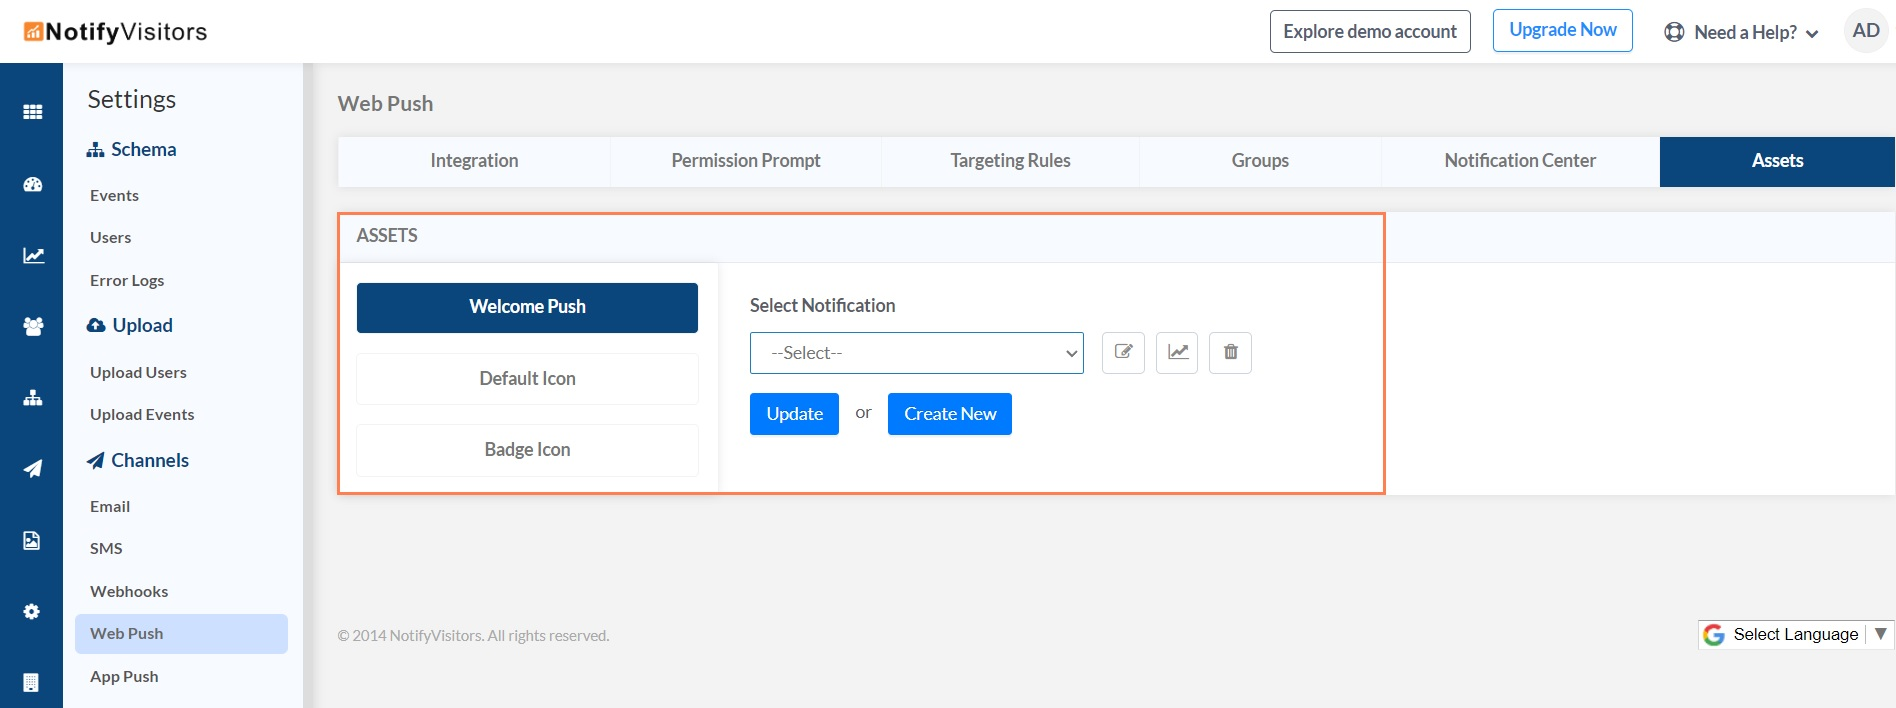
NVECTA offers you the functionality to include some of your organization's assets. These are configured under the Assets tab, which has three options.
Welcome Push (optional)
A notification sent the moment a visitor subscribes. Reuse an existing one from the dropdown, or click Create New to build a Standard or Rich welcome push (the process matches a regular web push campaign). Click Update to save your selection.
Default Icon
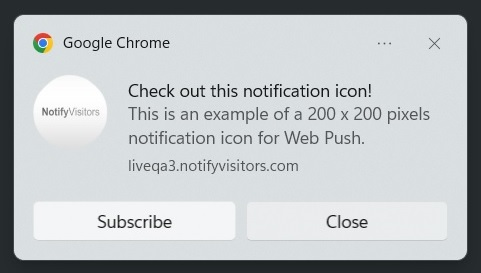
The icon shown on your notifications. Provide an image URL or upload a file. Maximum 200×200 px, maximum 200 KB.
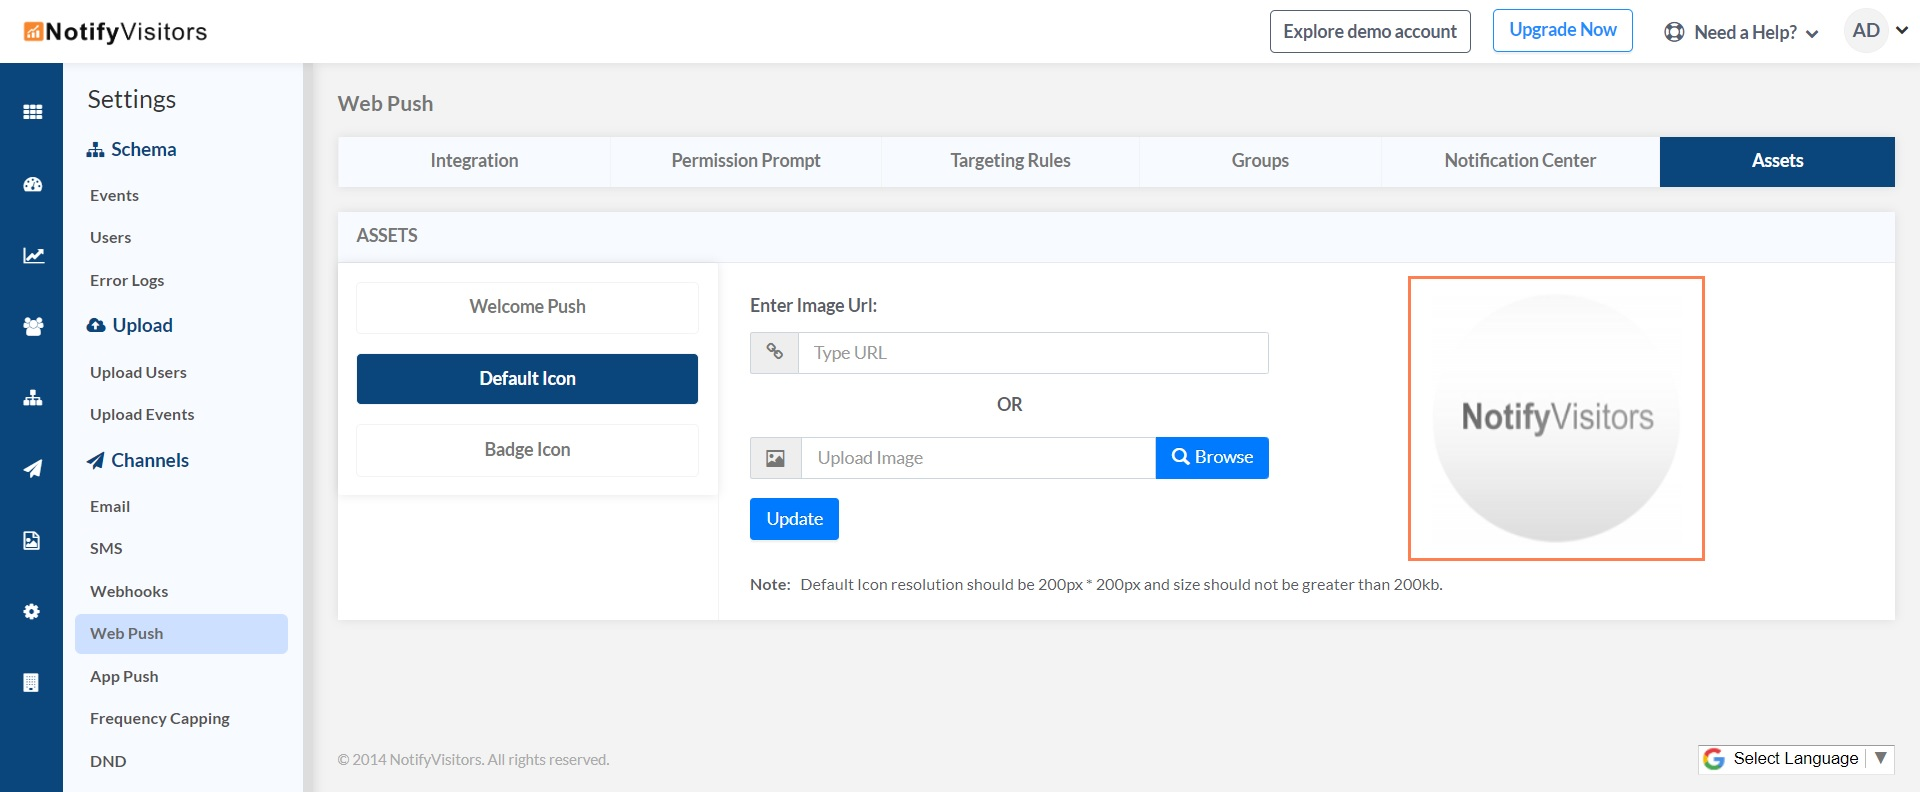
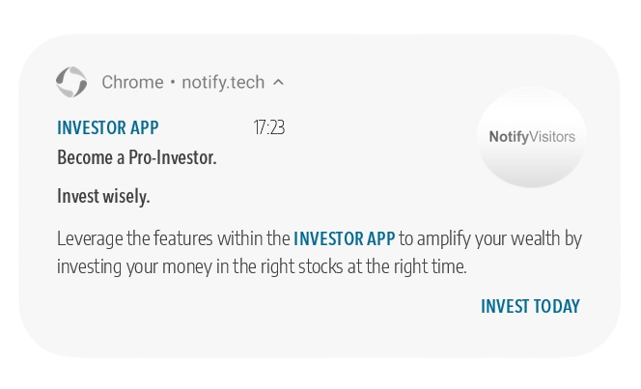
The default icon that you choose will appear in your Push Notifications as shown in the image below:
Badge Icon
Must be monochrome. Provide an image URL. Maximum 72×72 px, maximum 10 KB.
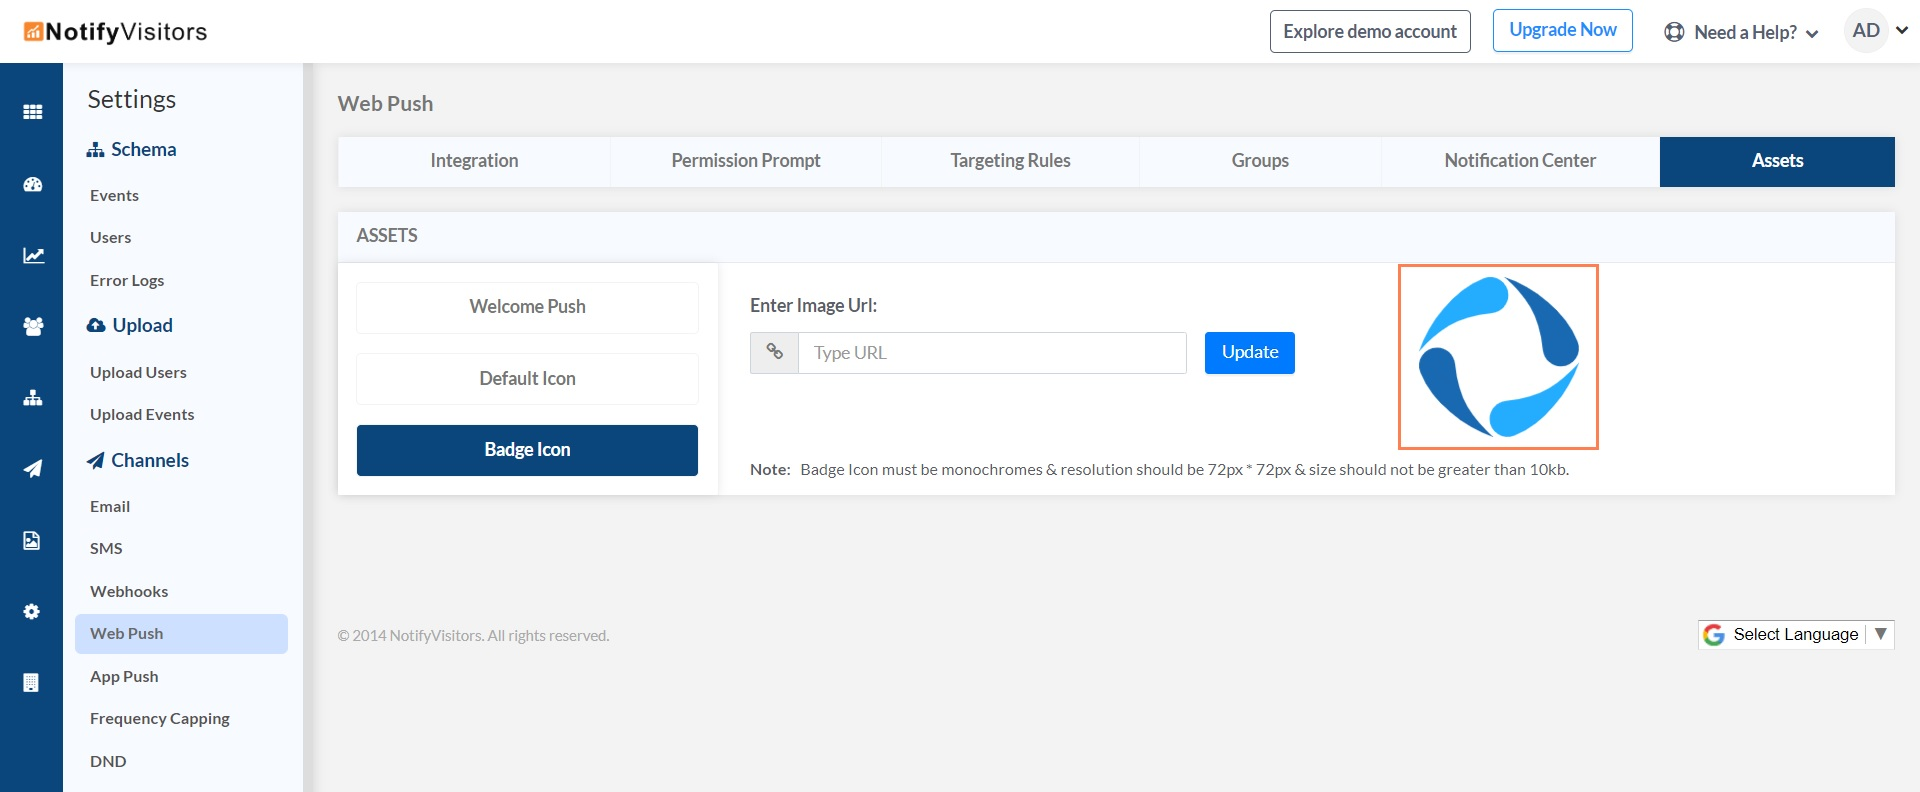
Your badge icon will appear as shown in the image below:
Click Save Changes or Update in every section to persist your settings.
Conclusion
These settings are optional, but together they make your notifications more relevant and on-brand: subscription groups give visitors control over what they receive, the notification center lets them catch up on anything they missed, and assets keep your welcome message and icons consistent with your brand. Configure the ones that fit your goals, and remember to save each section before you leave it.
Updated 3 months ago